Magic links with Resend
In this tutorial, we’ll be setting up Auth.js in a Next.js application to be able to log in with Resend.
Magic links (also known as “passwordless”) authentication is a login method which uses emails containing a verification token embedded in a URL. When the user clicks on the link, they will be redirected to your Auth.js app and be logged in, as long as that verification token is still valid.
This tutorial uses Resend as the Passwordless email provider and Next.js as the framework. Note that for any OAuth provider or any framework, the process will be the same/very similar, mainly differing on how you register your application in the chosen provider’s dashboard.
Setting up Auth.js
Installing Auth.js and Next.js
For this tutorial, we’re gonna use the default Auth.js & Next.js example app. If you already have an existing Next.js app, it should work too. If you don’t, clone the repository:
git clone https://github.com/nextauthjs/next-auth-example.git && cd next-auth-exampleIf you’re using the example app, Auth.js is already installed, otherwise follow the installation instructions.
Creating the server config
Next, we’re gonna create the main Auth.js configuration file which contains the necessary configuration for Auth.js, as well as the dynamic route handler.
import NextAuth from "next-auth"
import Resend from "next-auth/providers/resend"

export const { handlers, auth } = NextAuth({
  providers: [Resend],
})export { GET, POST } from "@/auth"Since this is a catch-all dynamic route, it will respond to all the relevant Auth.js API routes so that your application can interact with the chosen OAuth provider using the OAuth 2 protocol.
Adding environment variables
If you haven’t, create an .env.local file as explained in the installation section and add the following Resend API key variable.
AUTH_SECRET="changeMe"

AUTH_RESEND_KEY=
We will be filling AUTH_RESEND_KEY with a proper key from the Resend developer portal once we’ve registered our account and application.
Registering your App
To be able to send Emails using Resend you’ll need to do two things.
- Create an API Key
- Verify your Domain
API Key
You’ll need to sign up for an account at Resend, and then go to “API Keys” in the main sidebar. There you can click on “Create API Key”. We only need “Sending Access”.
Domain
To verify your domain, follow the Resend docs and come back once you’ve got everything set up with your domain.
Next, you will have to update the from address to be from the domain you’ve configured and verified in Resend.
import NextAuth from "next-auth"
import Resend from "next-auth/providers/resend"

export const { handlers, auth } = NextAuth({
  providers: [
    Resend({
      from: "auth@app.company.com",
    }),
  ],
})
Wiring all together
Now that we have the required API key, paste it into your .env.local file we created earlier.
AUTH_SECRET="changeMe"

AUTH_RESEND_KEY={apiKey}
With all the pieces in place, you can now start your local dev server and test the login process.
npm run devNavigate to http://localhost:3000. You should see the following page:
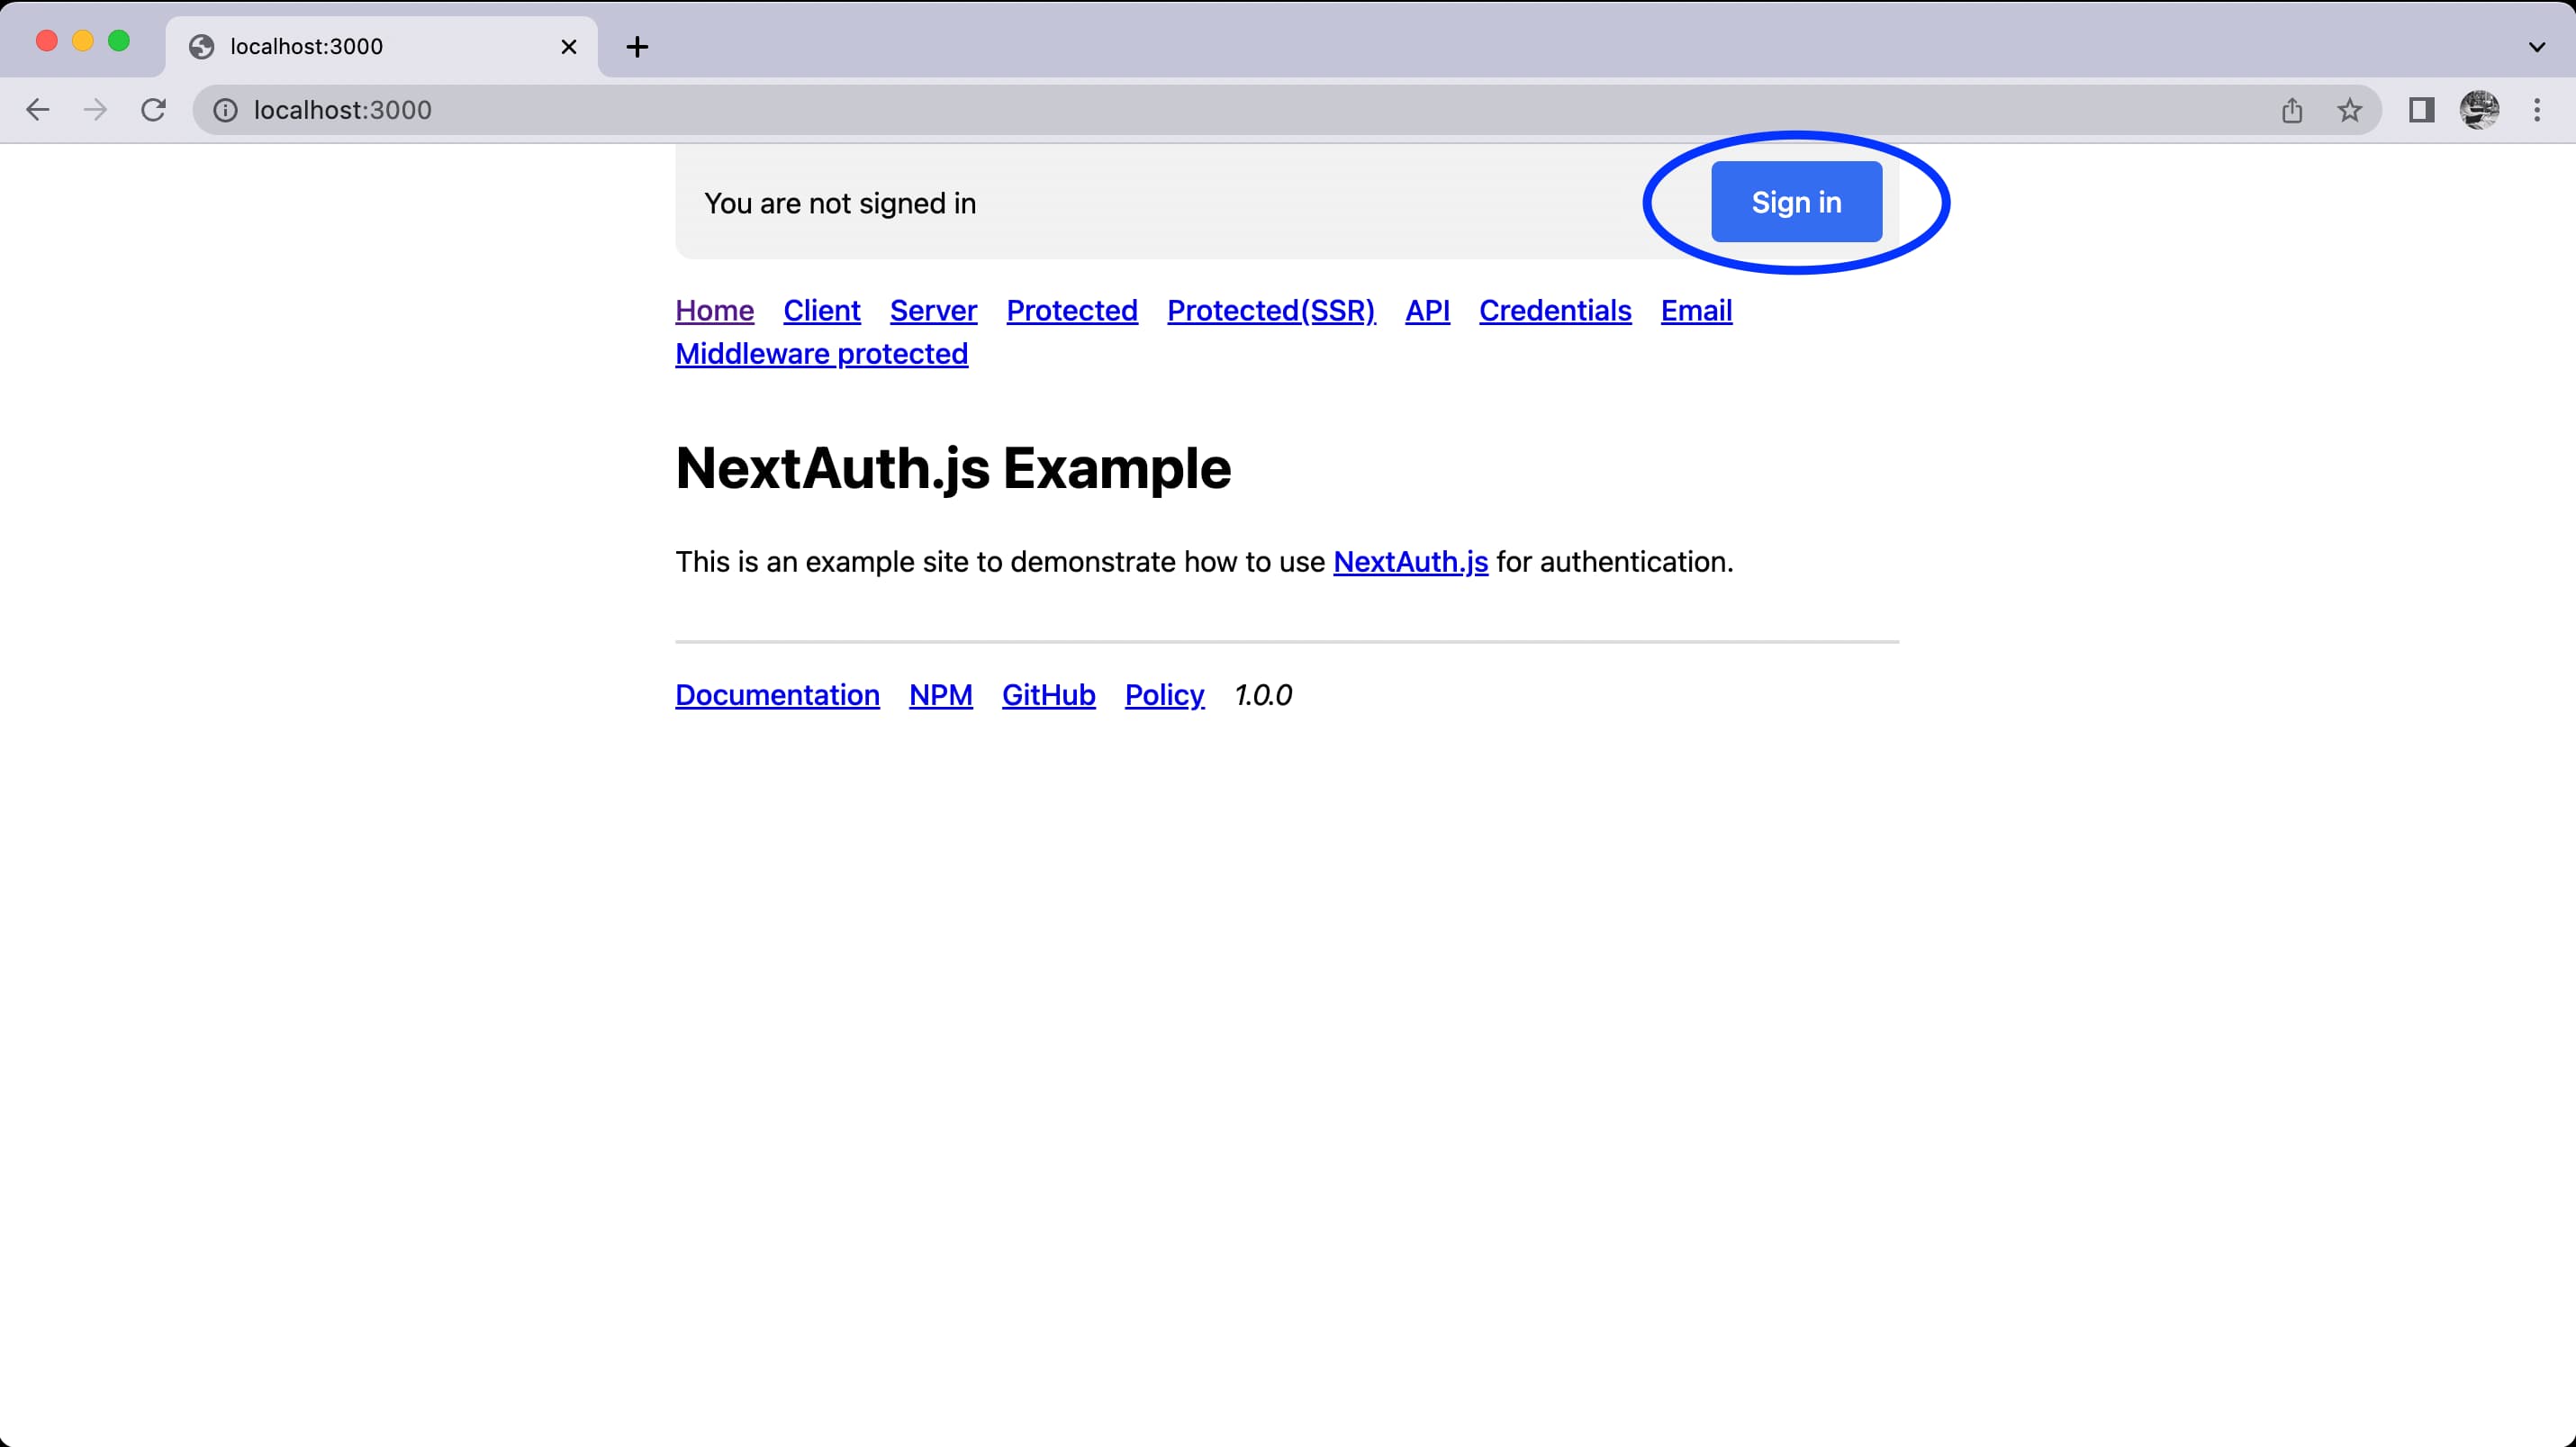
Click on “Sign in”, you should be redirected to the default Auth.js signin page. You can customize this page to fit your needs. Next, enter your email address in the email input field and click “Sign in with Resend”.
Go to your email inbox and you should find the email from your Auth.js application with a button labelled “Sign in”. Click on this button and you should be redirected back to your local dev app and be signed in!

If you’ve landed back here that means everything worked! We have completed the whole passwordless authentication flow so that your users can log in to your application via passwordless magic-links!
You can customize the contents of this email and modify some additional Resend parameters. For more details, check out our Resend provider docs page.
Deployment
Deploying your Auth.js application with Resend does not require any other changes. Just make sure you’ve added all the required environment variables to your production environment. Refer to the Deployment page for more information.